How to KVM Backup and Restore in Linux

By following the steps below, we’ll see how you can upload your KVM virtuals and return them from the backup again.
1. Backup Import
First, let’s list our machines and see that they are operational. To do this, we use the following command.
> virsh list –all
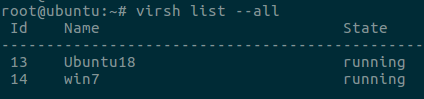
Then we close the VM we will install.
> virsh shutdown Ubuntu18
Then let’s list the machines again and see that they are turned off.
> virsh list –all
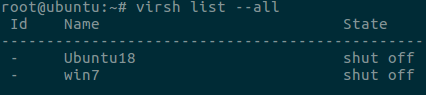
Now let’s back up the machine (XML file) with the following command/method.
> virsh dumpxml Ubuntu18 > /MyBackup/Ubuntu18.xml
or
You can copy the corresponding XLM to the corresponding backup directory with the cp command from the “/etc/libvirt/qemu” directory where the XML is stored in default.
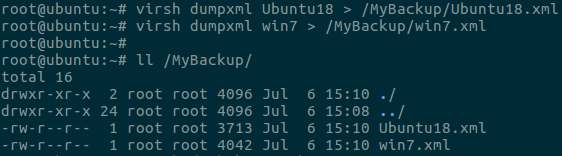
Now let’s back up the disk file (qcow2) with the following command/method.
Copy the qcow2 f format disk file to /MyBackup. The default location of disk files is under “/var/lib/libvirt/images/”.
or
> virsh domblklist Ubuntu18 command you can see where it is. You can copy it to your backup folder with cp or scp (remote) command from the related place.
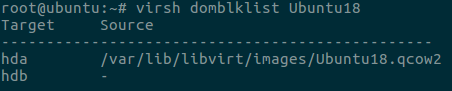
> cp /var/lib/libvirt/images/Ubuntu18.qcow2 /MyBackup/Ubuntu18.qcow2
Let’s list and see all our backups.
> ls -lash
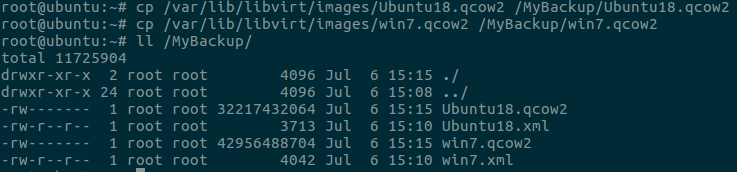
Note: You can do the backup process without turning off the machines, but it may be healthy to turn it off and on despite errors or data loss. Of course, if the machine should not be interrupted service, as I said VM opened backup can take.
2. Restore Making
Now let’s go back to the backup scenario. To do so, you can delete or undefine the XML.
> virsh undefine Ubuntu18
or
If the XML file containing the server properties is deleted and we list it, we can see that the machine is gone.
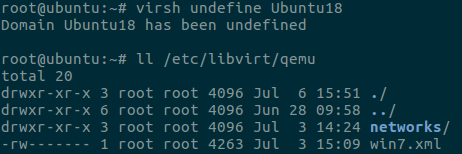
> virsh list –all

Now let’s delete the disk (qcow2) file to perform the scenario.
> rm /var/lib/libvirt/images/Ubuntu18.qcow2
And we can start implementing the script. Let’s start the process of copying the disk (qcow2) from the place we took the backup to where it should be.
> cp /MyBackup/Ubuntu18.qcow2 /var/lib/libvirt/images/
After the copying process of the disk is finished, let’s make the XML file with the machine properties available with the following command/method.
> virsh define –file /MyBackup/Ubuntu18.xml
or
Let the XML file containing the server properties be copied back to the directory.
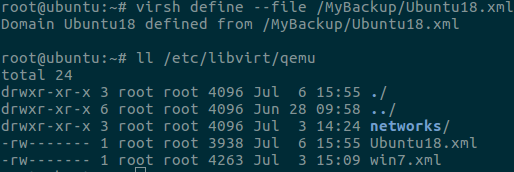
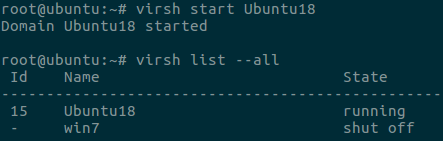
Then start the VM and complete the process.
> virsh start Ubuntu18
I hope it has been a useful article.