How to Install Centos 7 Remote Desktop Connection

In this article, we will connect to our Centos server using the “Remote Desktop Connection” application on our computer without the help of any third-party program. We will learn how to do it by following the steps below.
1- The first step is to install Gnome Gui.
// yum group install "GNOME Desktop" "Graphical Administration Tools"
2- Let’s standardize our graphic display for the start.
// ln -sf /lib/systemd/system/runlevel5.target /etc/systemd/system/default.target
3- In this step, we reboot our server.
// reboot
4- Now, let’s install the Epel library.
// rpm -Uvh https://dl.fedoraproject.org/pub/epel/epel-release-latest-7.noarch.rpm
5- Here we add the Nux library.
// rpm -Uvh http://li.nux.ro/download/nux/dextop/el7/x86_64/nux-dextop-release-0-1.el7.nux.noarch.rpm
6- We are installing Xrdp.
// yum -y install xrdp tigervnc-server
7- We add xrdp to the start.
// systemctl start xrdp.service

//   systemctl enable xrdp.service
8- At the last step, after finishing the Firewall, we finish the setup settings.
// firewall-cmd --permanent --zone=public --add-port=3389/tcp
// firewall-cmd --reload
Now that we have finished the installation, you can use the Desktop Connection application from the Windows operating system as a desktop.
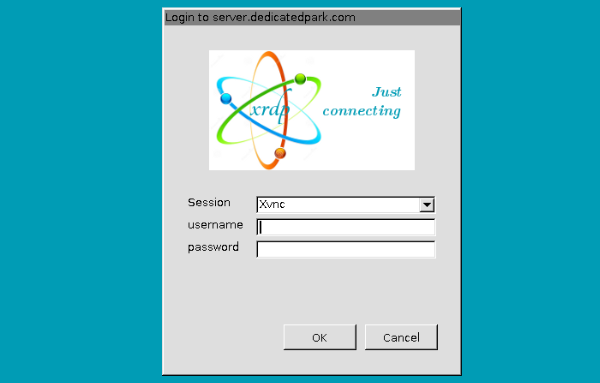
Windows_Desktop