Publications

Open Ubnt Frequency Range
Putty with antenna IP and Port are written. 22 port instead of 443 port on the Router side
It is written. In this way, the antenna is reached.
UBNT UBNT for airOS 8.5 version of airOS
touch/etc / persistent/ ct save save reboot reboot
UBNT post airOS version 8.5
sed -i 's/\(countrycode=\).*/\1511/g' /tmp/system.cfg && save && reboot
I hope it has been a useful article.
MİKROTİK PPPoE CLIENT CREATION
Things to do step by step;
We will shut down the DHCP Server, NAT, and Firewall on our ADSL Modem.
We will get the ADSL Connection mode from the ADSL Modem to BRIDGE MODE.
We will give IP to Local Interface on Mikrotik.
We will define the PPPoE Client for ADSL connection.
We’ll start the NAT definition and start sharing.
I cannot show here how to turn off DHCP Server, NAT, and Firewall on your ADSL Modem because all modems are different. You will find these settings in your own modem.
MİKROTİK LOAD BALANCİNG 2 WAN 2 LAN
Mikrotik Load Balancing 2 WAN 2 LAN with Failover – Load balance 2 WAN on Mikrotik Router is a technique to distribute the traffic load on the two-paths connection in a balanced manner so that traffic can run optimally, maximize throughput, minimize response time and avoid overload on one connection path. This experiment, I have 2 internet connections different IP WAN and 2 LAN. I‘ve tried it, load balancing and failover can run normally. You can see the Mikrotik script below.
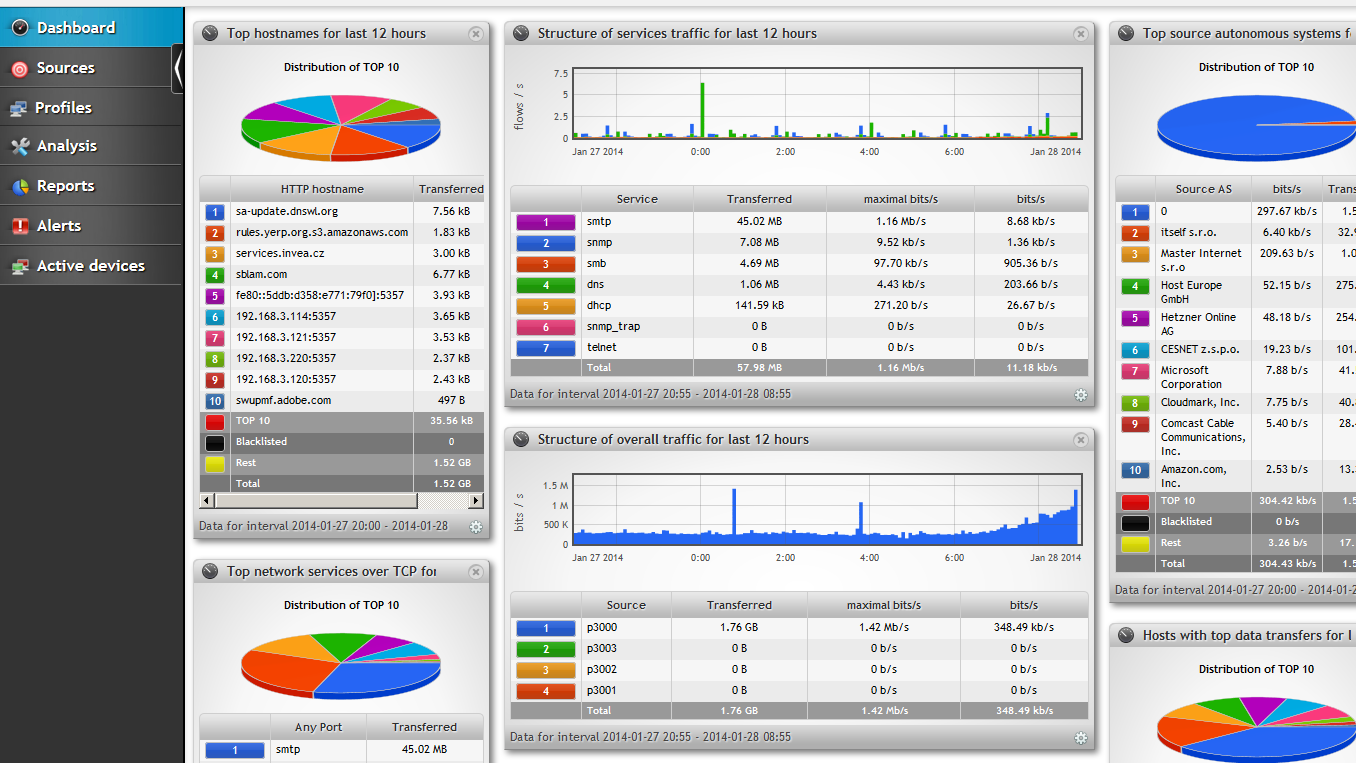
Step-by-Step Installation of Zabbix with Mikrotik
In our article, we will see how to install Zabbix step by step.
1- First you need to install a Linux machine installed on the virtual machine.
2- This is a Zabbix from your own site on the Linux machine <https://www.zabbix.com/download>
download the required file. I have downloaded version 3.2.6 VirtualBox, VMWare (.vmdk) to try it for example.
3- We look at the internet IP of our Mikrotik device, eg via ether 2 below. The reason we learn this is to provide access to our Mikrotik router via Zabbix.
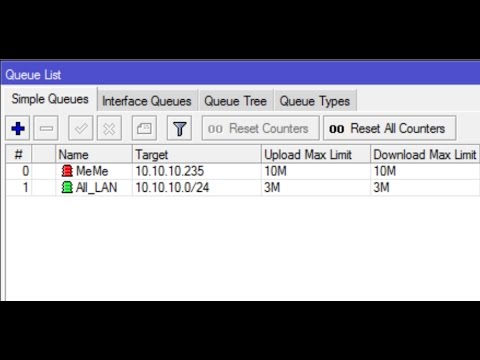
Limiting Users’ Traffic with a Queues on the Mikrotik Router
1- As shown in the picture below, we enter the queue part of our Mikrotik device, where we limit the bandwidth of our users.
2- Here, as shown in the picture above, we press the + button, a window appears as follows.
As the picture also appears, we have a user called the Trial and we limit the Internet to 25MB. We have limited both Upload and Download to 20MB. In the Target section, if we give a fixed IP to our user, we limit it via IP. In other words, the user comes to the Internet where the wan leg is coming, whichever is on the internet we choose it.